 By Admin
 Installing irrigation quick connect valves in an existing irrigation system involves several steps to ensure proper functionality and longevity. Here’s a guide to correctly install them:
Prepare the Installation Site: Before cutting into the irrigation pipeline, assess the installation site. Choose a location that is convenient for accessing and operating the quick connect valve. Clear any debris, vegetation, or obstacles that could obstruct installation or future maintenance tasks. Ensure there is adequate space around the valve for maneuvering tools and making connections.
Cut the Pipeline: Measure the precise location where you intend to install the quick connect valve using a tape measure. Mark the pipeline using a permanent marker or pencil to indicate where the cut will be made. Use a pipe cutter designed for the type of pipe material (e.g., PVC, polyethylene) to make a clean, straight cut. Rotate the pipe cutter around the pipe, tightening it gradually with each rotation until the pipe is cleanly cut through. Avoid excessive force, as it can deform the pipe or create jagged edges.
Prepare Pipe Ends: After cutting the pipeline, use a deburring tool or utility knife to remove any burrs or rough edges from the cut ends of the pipe. Smooth out the edges with sandpaper or a file to ensure a flat surface. This step is crucial for creating a proper seal and preventing leaks once the quick connect valve is installed. Inspect the pipe ends visually and run your fingers along the edges to check for any remaining imperfections.
Install Compression Fittings: Select high-quality compression fittings that match the diameter and material of your irrigation pipeline. Compression fittings consist of several components, including a compression nut, compression ring (ferrule), and body. Slide the compression nut and compression ring onto each cut end of the pipe, ensuring the compression ring is positioned with the tapered end facing toward the fitting body.
Attach the Valve: Insert the quick connect valve between the prepared ends of the pipeline, ensuring it aligns correctly with the compression fittings. The valve should fit snugly against the compression rings on both sides. Follow the manufacturer's instructions for positioning the valve and verifying proper alignment with the pipeline. Ensure any sealing surfaces or gaskets on the valve are clean and free of debris before installation.
Tighten Compression Fittings: Use adjustable wrenches to tighten the compression nuts onto the compression fittings. Begin by hand-tightening each nut to ensure initial alignment and contact with the compression ring. Use wrenches to tighten the nuts further, alternating between the fittings to evenly distribute pressure. Be cautious not to over-tighten, as this can damage the fittings or distort the valve body, compromising the seal.
Test for Leaks: Once the quick connect valve is securely installed and all compression fittings are tightened, gradually restore water flow by reopening the main shut-off valve. Monitor the installation site and inspect all connections, including around the compression fittings and along the valve body, for signs of leakage. Look for dripping water, moisture buildup, or audible hissing sounds indicating air leaks. If leaks are detected, immediately shut off the water supply and identify the source of the leak. Check the compression fittings for proper alignment and ensure the compression ring is seated correctly within the fitting body. Make necessary adjustments by re-tightening the compression nuts or replacing damaged compression rings. Verify the integrity of all connections before proceeding.
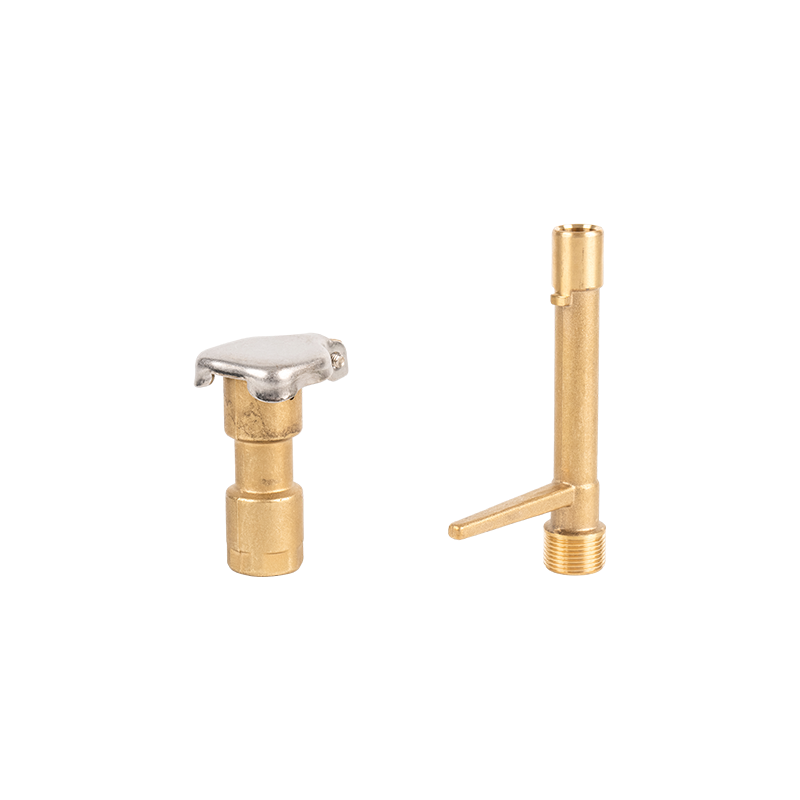
YR9106 BSP 3/4" brass quick coupling valve, stainless steel cap
Copyright © Ningbo Yourun Landscape Irrigation Co., Ltd. All Rights Reserved.
![]()
 English
 Español


")
")