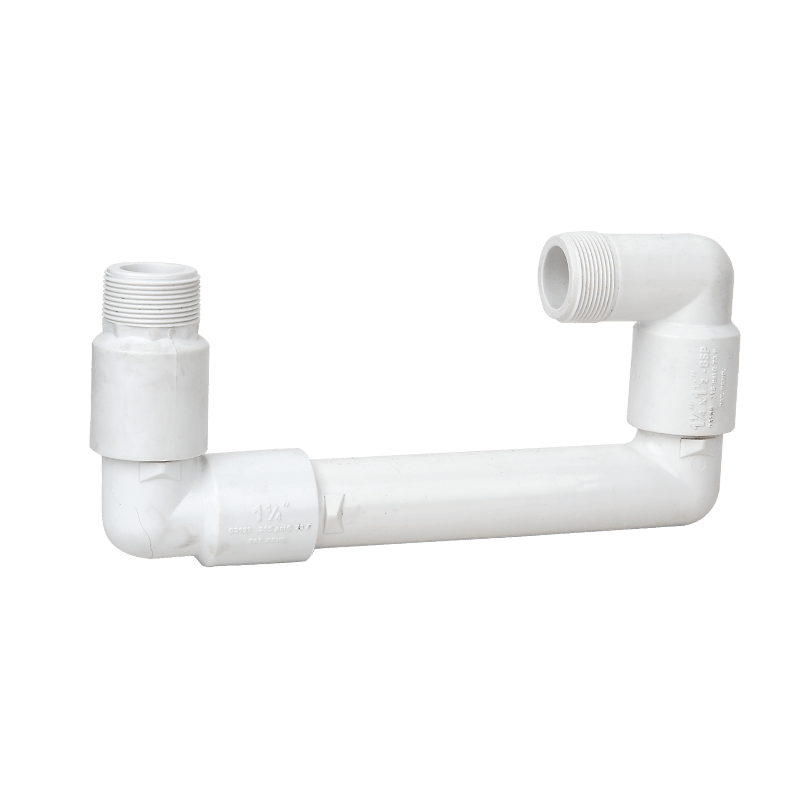
Ensuring correct alignment and adjustment of irrigation swing joints is crucial for optimizing performance. Here's a step-by-step guide:
Prepare the Installation Area: Prior to initiating the installation process, meticulously prepare the installation area to optimize conditions for a successful setup. Thoroughly clean the surfaces of the pipes and fittings that will interface with the swing joint, using appropriate cleaning agents and tools to remove any dirt, debris, or residue that could compromise the integrity of the connections. Inspect the condition of the pipes and fittings for signs of damage, corrosion, or irregularities, addressing any issues as necessary to ensure a smooth and secure fit for the swing joint. Additionally, clear the surrounding area of any obstacles, vegetation, or structures that may impede access or hinder the installation process, allowing for unobstructed work space and maneuverability.
Positioning: Deliberately select the optimal location for positioning the swing joint within the irrigation system, taking into account various factors that may impact its performance and functionality. Consider the overall layout of the irrigation system, including the placement of sprinkler heads, valves, and other components, to identify strategic positions where the swing joint can facilitate efficient water distribution and coverage. Take note of any elevation changes, terrain variations, or landscape features that may influence the placement of the swing joint, aiming to achieve a configuration that promotes uniform water delivery and minimizes water waste. Utilize measuring tools, such as levels or alignment guides, to ensure precise alignment of the swing joint with the adjacent pipes and fittings, maintaining a straight and level orientation for optimal operation.
Thread Connection: Employing proper techniques and tools to achieve secure and leak-free connections between the swing joint and the existing pipes or fittings. Begin by inspecting the threads of both the swing joint and the corresponding pipes or fittings to ensure they are clean, smooth, and free from damage or deformities that could compromise the integrity of the connection. Apply an appropriate thread sealant, such as high-quality thread seal tape or pipe joint compound, to the male threads of the swing joint, evenly distributing the sealant along the entire length of the threads to promote a uniform seal. Carefully thread the swing joint onto the female threads of the pipes or fittings, employing gentle yet firm pressure to avoid cross-threading or overtightening that could cause damage or distortion to the threads. Utilize adjustable wrenches or pipe wrenches to securely tighten the connection, ensuring a snug fit that prevents water leakage and maintains structural integrity under operating conditions. Perform a visual inspection of the threaded connection to verify that it is properly aligned and seated, with no gaps or misalignments that could compromise the seal or stability of the joint.
Adjustment: Harness the adjustable features of the swing joint to fine-tune its position and orientation within the irrigation system, customizing its configuration to accommodate specific requirements and preferences. Utilize the built-in swivel joints, ball joints, or other adjustable mechanisms incorporated into the design of the swing joint to achieve the desired angle, rotation, or trajectory for optimal water distribution and coverage. Employ precision instruments, such as angle gauges or alignment tools, to ensure accurate adjustment of the swing joint, verifying that it conforms to the specified angles or orientations prescribed for the particular application. Continuously monitor and refine the adjustment process as needed, making incremental changes and refinements to optimize the performance and efficiency of the swing joint within the irrigation system.
YR9201 BSP1-1/2"x1-1/2" irrigation swing pipe elbow
 By Admin